How to Migrate from an AHCI SSD to a NVMe SSD without re-installing the OS.
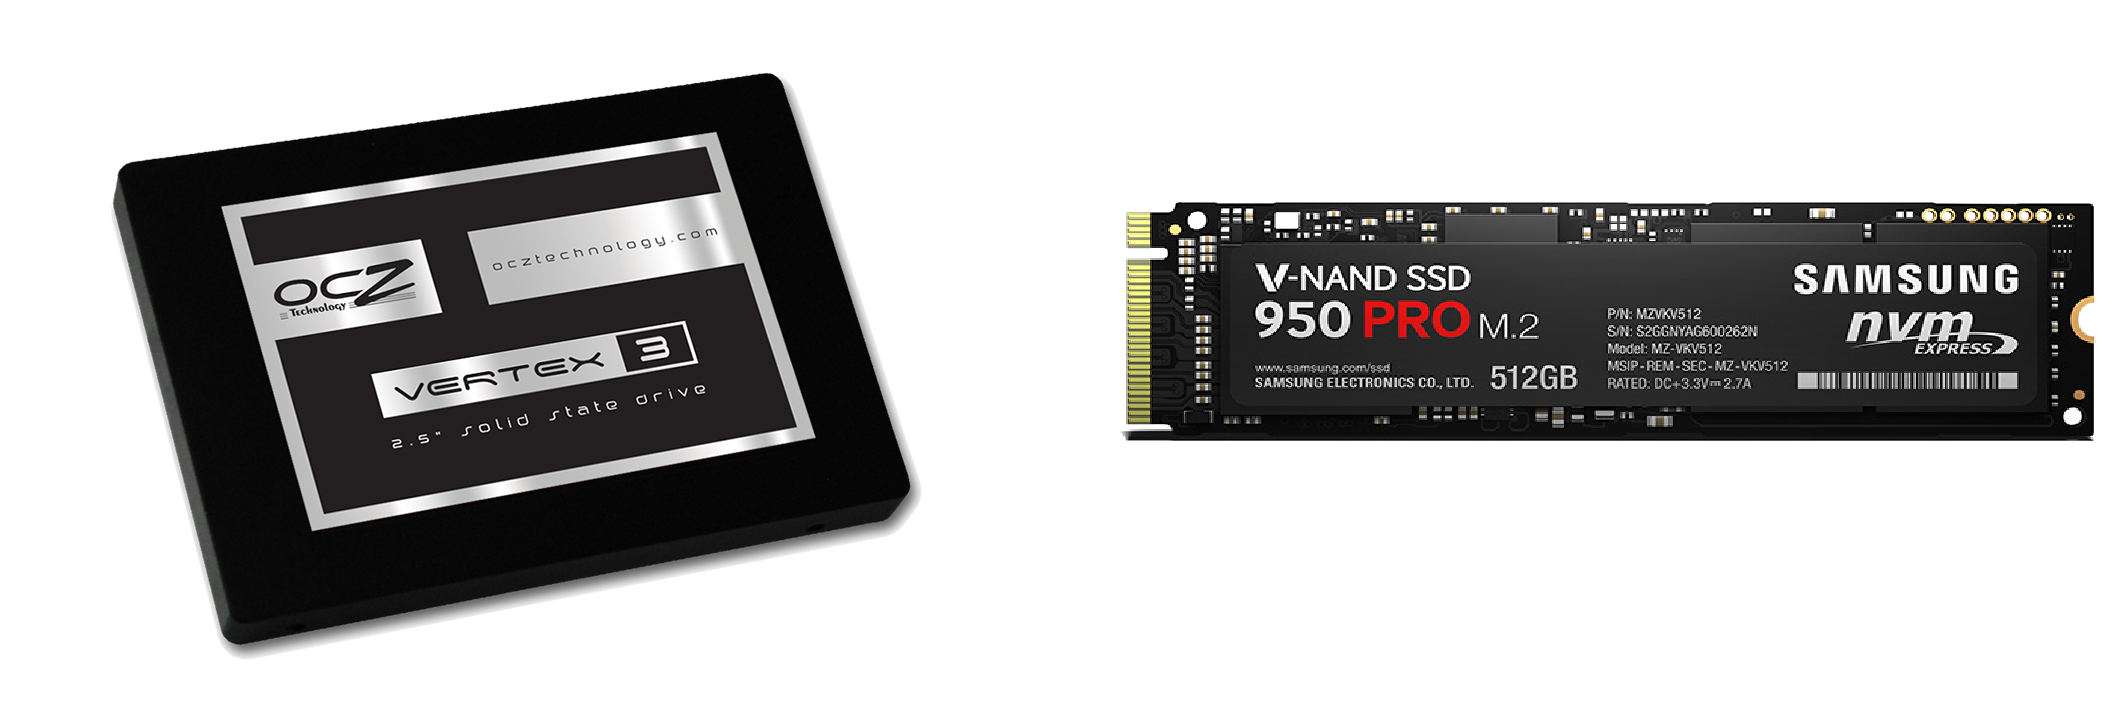
With the NVMe wave about to become an avalanche, there will be alot of users not wanting to do a fresh install when they migrate to a NVMe SSD. This is how i got my Windows 7 Installation from a Vertex 3 to a Samsung 950 Pro SSD without re installing the OS.
 This process should also be valid for other NVMe drives like:
- Intel 750 SSDs
- Samsung 950 Pro
- Samsung SM951 NVMe Variant
- Phison P5007-E7 based SSDs (GSkill Phoenix Blade X)
- Marvell 88SS1093 based SSDs
Note: If you want to boot from a NVMe SSD your motherboard must support booting from NVMe drives. Currently only Z97, X99 and Z170 boards are capable of this. No word on or if older board BIOS's will be updated to support booting from NVMe SSD's.
Step 1 Obtain and Install the Windows 7 NVMe driver hotfix on the drive to be cloned.
https://support.microsoft.com/en-us/kb/2990941
You first want to install the NVMe drivers on your existing install of windows 7 so that when you clone the drive to the NVMe SSD the drivers are available. Install the NVMe SSD and confirm that it loads the correct driver and appears as a storage device in windows device manager.
The NVMe device drivers can now be found in the following folder, these will be injected into the DART image so the new NVMe drive is supported.
C:\Windows\System32\DriverStore\FileRepository\stornvme.inf_amd64_neutral_e956dafdaed58a8c
stornvme.inf
stornvme.sys
Step 2 Clone the OS disk to the new NVMe SSD.
Under construction
Step 3 Adding NVMe Drivers to the USB DART Image
Mounting the DART Image for device driver injection.
C:\Downloads\USB\sources>dism /mount-wim /wimfile:c:\downloads\usb\sources\bootx64.wim /index:1 /mountdir:c:\wim
Deployment Image Servicing and Management toolVersion: 6.1.7600.16385 Mounting image[==========================100.0%==========================]The operation completed successfully.
Add the NVMe driver, to make it easy i relocated the .inf and .sys file to a temp folder for easy access. The driver is unsigned so you need to force the installation.
c:\wim>cd \temp\nvme
c:\TEMP\nvme>dism /image:c:\wim /add-driver /driver:. /recurse /forceunsigned
Deployment Image Servicing and Management tool
Version: 6.1.7600.16385
Image Version: 6.1.7600.16385
Searching for driver packages to install...Found 1 driver package(s) to install.Installing 1 of 1 - c:\TEMP\nvme\stornvme.inf: The driver package was successfully installed.The operation completed successfully.
Finally commit the changes and un-mount the WIM file
c:\TEMP\nvme>dism /unmount-wim /mountdir:c:\wim /commit
Deployment Image Servicing and Management tool
Version: 6.1.7600.16385
Image File : c:\downloads\usb\sources\bootx64.wimImage Index : 1Saving image[==========================100.0%==========================]Unmounting image[==========================100.0%==========================]
After updating the DART WIM file update your USB drive and test that the image works.
Step 4 Repairing the Windows Installation after cloning.
Boot the Diagnostic and Recovery Tools from the USB key and let it automatically repair the Windows 7 Installation.